 Staff
Staff
You can make your project look much better, prettier and consistent across devices with the use of Adobe Typekit!
What is Typekit!?
Adobe Typekit brings thousands of fonts from foundry partners into one beautiful library for subscription or purchase. Enjoy quick browsing, easy use on the web or in applications, and endless typographic inspiration. Typekit is the easiest way to bring great type into your workflow, wherever you are. Captivate can take advantage of the same and can make the e-Learning content much more beautiful, engaging and eye pleasing.In addition, you can now be sure of how your project looks across various platforms and devices.
Link: typekit.com
Adobe Captivate 2017 allows you to use the enormous library of fonts within Adobe Typekit for your eLearning projects with ease. You can add Adobe Typekit fonts within Captivate with Adobe Creative Cloud which can make the project much better aesthetically.
Few Samples:


How to achieve the above slide using Typekit?
Typekit Fonts used in the above projects are:
- Cooper std
- Sarina
To add a font, follow the steps shown below, a Text Caption is used for the example, but any other object such as a Button or Shape can be used for the same.
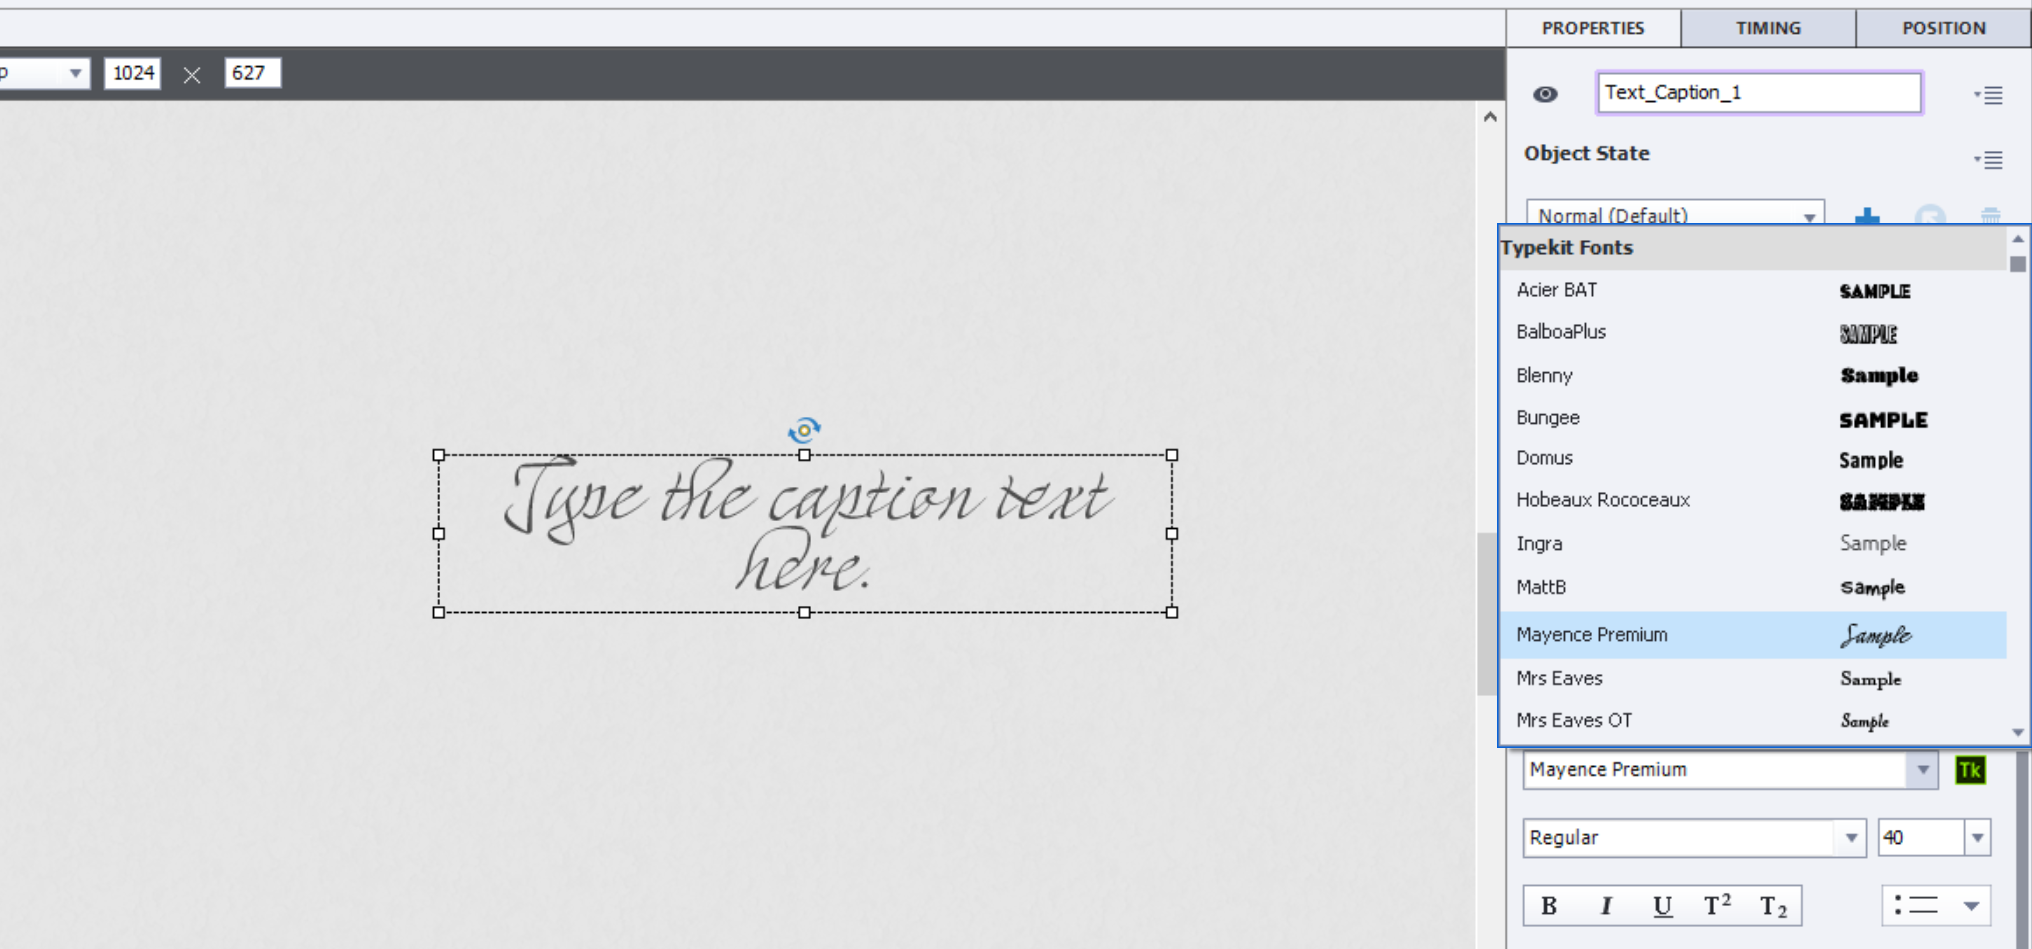 Figure 3
All the installed Typekit fonts are available within the Character Dropdown under the section Typekit Fonts (Refer Figure 3) and you can choose any of them in the same way as any system font would be chosen, and the preview of the font is immediately shown on the Edit Area.
To Add new Typekit Fonts to Captivate:
1.Install Adobe creative cloud application if not already installed,Log in using your adobe ID.
- Launch Captivate, Open a new Project and to add new fonts just click the Typekit (Tk) icon next to the font selection dropdown (Refer Figure 4), which will redirect you to the Adobe Typekit Website. Log in using the same Adobe Id you can see all the fonts within the Typekit Library which can be accessed based on your plan.
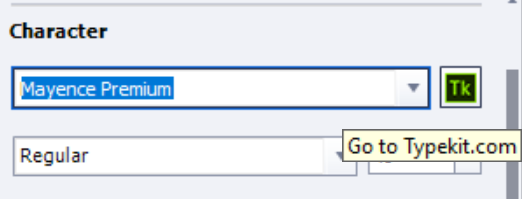
Figure 4
3. Once a font of liking is chosen we can sync the font to Adobe Creative Cloud Account by clicking on the SYNC button next to the font (Refer Figure 5), Note: All the styles of a font also have to be synced if they are also needed.

Figure 5
4.Once the font is synched the Creative cloud app shows a notification on the systems it is installed and logged in with the same Adobe Creative cloud account (Refer Figure 6).
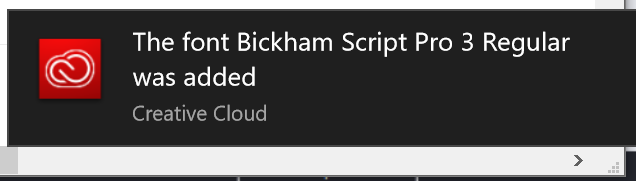
Figure 6
Captivate 2017 automatically updates the new fonts without any user interaction and shows the new font in the drop down. (ex: Bickham Script Pro 3, Refer Figure 7).
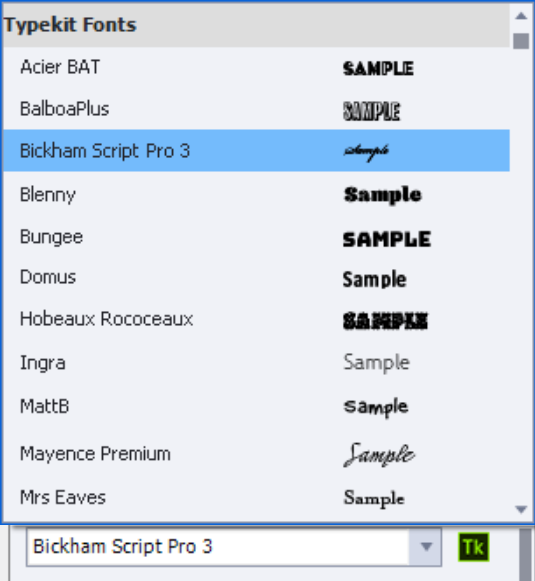
Figure 7
Now you are all set to use the fonts! Lets start with the slide!
4. Insert a Text Caption, choose the font as “Cooper Std” and change the font size to 100
To Publish projects with Typekit Fonts:
To publish a project with Typekit fonts, click on any Publish method of choice, which connects to the project to a Typekit account (Refer Figure 8), once confirmed we should also add the domain(s) where the project will be uploaded. (Refer Figure 9)
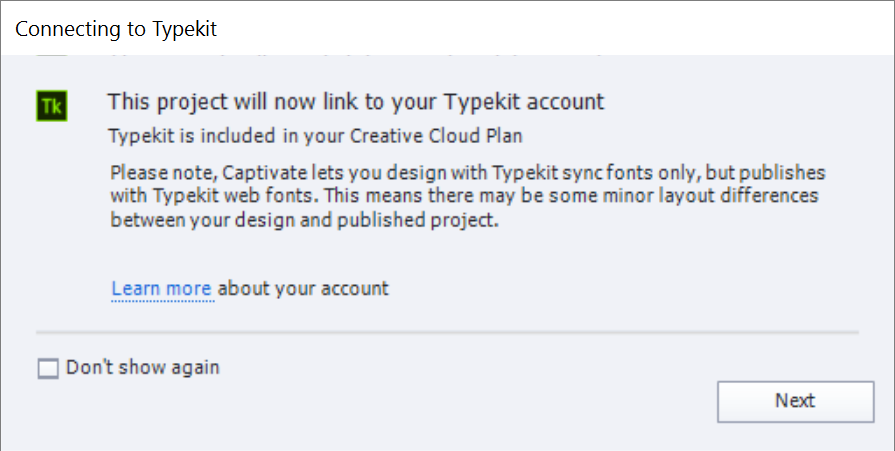
Figure 8
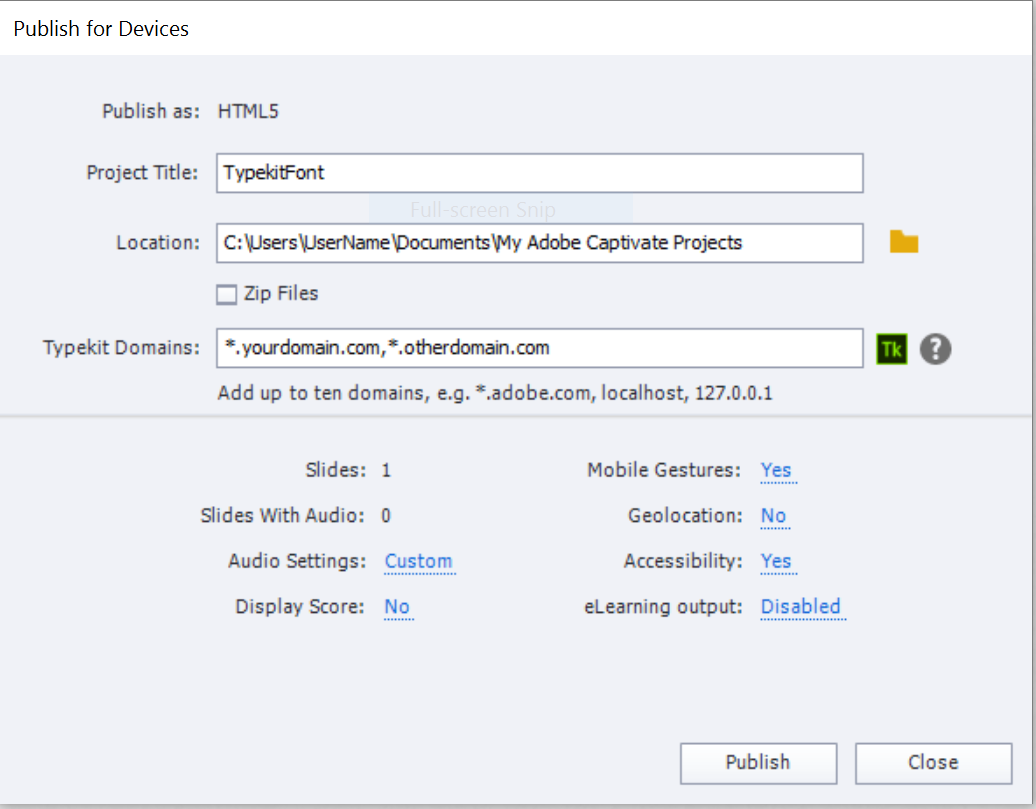
Figure 9
We can add upto 10 domains which can also match regular expressions like asterix (*) to match subdomains.
Things to remember when using Typekit Fonts:
- All the restrictions of the Adobe Typekit account also hold good here.
- Matching subdomains with asterix (*) is recommended instead of adding each one.
- Using the project in a different system without the same fonts will revert the fonts back to default.
- Publishing the project in a domain not listed in the publish window, the project will not render the fonts in the new domain, it will use default fonts instead.
Sample Project: Typekit_Blog
You can make your project look much better, prettier and consistent across devices with the use of Adobe Typekit!
What is Typekit!?
Adobe Typekit brings thousands of fonts from foundry partners into one beautiful library for subscription or purchase. Enjoy quick browsing, easy use on the web or in applications, and endless typographic inspiration. Typekit is the easiest way to bring great type into your workflow, wherever you are. Captivate can take advantage of the same and can make the e-Learning content much more beautiful, engaging and eye pleasing.In addition, you can now be sure of how your project looks across various platforms and devices.
Link: typekit.com
Adobe Captivate 2017 allows you to use the enormous library of fonts within Adobe Typekit for your eLearning projects with ease. You can add Adobe Typekit fonts within Captivate with Adobe Creative Cloud which can make the project much better aesthetically.
Few Samples:
How to achieve the above slide using Typekit?
Typekit Fonts used in the above projects are:
- Cooper std
- Sarina
To add a font, follow the steps shown below, a Text Caption is used for the example, but any other object such as a Button or Shape can be used for the same.
Figure 3
All the installed Typekit fonts are available within the Character Dropdown under the section Typekit Fonts (Refer Figure 3) and you can choose any of them in the same way as any system font would be chosen, and the preview of the font is immediately shown on the Edit Area.
To Add new Typekit Fonts to Captivate:
1.Install Adobe creative cloud application if not already installed,Log in using your adobe ID.
- Launch Captivate, Open a new Project and to add new fonts just click the Typekit (Tk) icon next to the font selection dropdown (Refer Figure 4), which will redirect you to the Adobe Typekit Website. Log in using the same Adobe Id you can see all the fonts within the Typekit Library which can be accessed based on your plan.
Figure 4
3. Once a font of liking is chosen we can sync the font to Adobe Creative Cloud Account by clicking on the SYNC button next to the font (Refer Figure 5), Note: All the styles of a font also have to be synced if they are also needed.
Figure 5
4.Once the font is synched the Creative cloud app shows a notification on the systems it is installed and logged in with the same Adobe Creative cloud account (Refer Figure 6).
Figure 6
Captivate 2017 automatically updates the new fonts without any user interaction and shows the new font in the drop down. (ex: Bickham Script Pro 3, Refer Figure 7).
Figure 7
Now you are all set to use the fonts! Lets start with the slide!
4. Insert a Text Caption, choose the font as “Cooper Std” and change the font size to 100
To Publish projects with Typekit Fonts:
To publish a project with Typekit fonts, click on any Publish method of choice, which connects to the project to a Typekit account (Refer Figure 8), once confirmed we should also add the domain(s) where the project will be uploaded. (Refer Figure 9)
Figure 8
Figure 9
We can add upto 10 domains which can also match regular expressions like asterix (*) to match subdomains.
Things to remember when using Typekit Fonts:
- All the restrictions of the Adobe Typekit account also hold good here.
- Matching subdomains with asterix (*) is recommended instead of adding each one.
- Using the project in a different system without the same fonts will revert the fonts back to default.
- Publishing the project in a domain not listed in the publish window, the project will not render the fonts in the new domain, it will use default fonts instead.
Sample Project: Typekit_Blog


You must be logged in to post a comment.
- Most Recent
- Most Relevant
