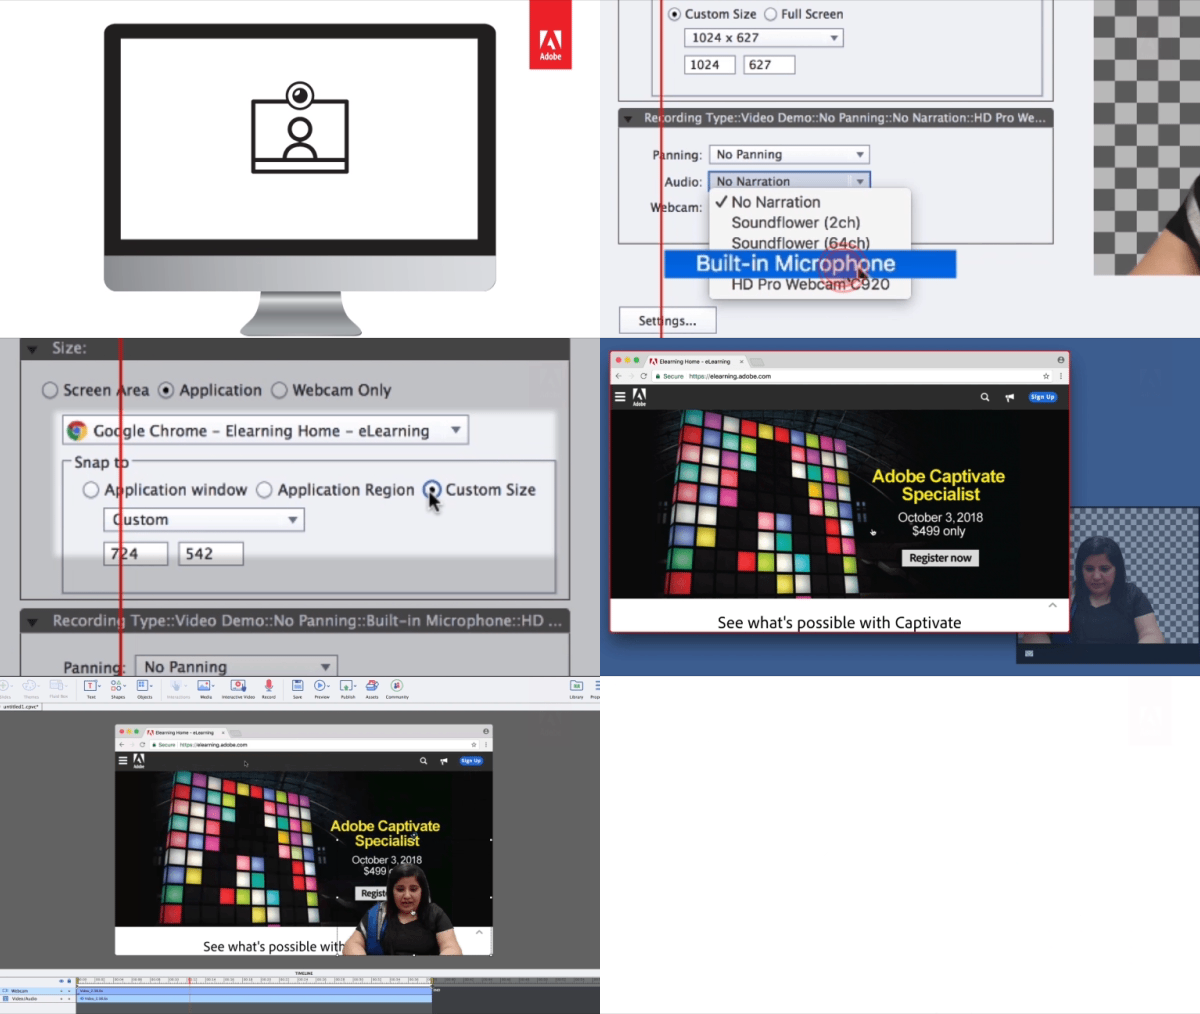
 Create studio-quality HD videos as you simultaneously record your webcam and on-screen content with just a few clicks. Adjust the talking-head video position and add persona to your training content. Easily edit the videos in Adobe Captivate and add interactivity to multi-screen video-based learning.
Steps:
In the Automatic chroma key effects page, we looked at how webcam video may be recorded, and the background removed. In this section we’ll build on that process. Once you have elected whether or not to include the webcam background removal, you are ready to begin recording both webcam and screen capture at the same time. Captivate will record everything on your computer in full motion, high definition video.
- Begin recording: Once you are satisfied, click the Record button to begin recording.
- Upon completion of the video, Captivate will display a preview of the video including both the screen you captured and the web cam video with a transparent background.

- You can publish directly to YouTube from the preview, or you can click the Edit button to make specific changes to the screen capture and web cam capture in Adobe Captivate.
- You can alter the scale of the videos, add images, text and animation and even add transitions.

- Try clicking and dragging on the webcam video to scale it larger, adjust it to fit the needs of your project.
- To publish the project, go to the Toolbar and click Publish > Publish to Computer.
- A dialog will appear on screen to help you configure the video publication.

- Most of the time you won’t need to do anything other than click the Publish You can use this dialog to name your file, and to select a destination location. You can also adjust the size of the video that you produce.
- The profile and encoding settings have been preselected to give you the best results, if you are trying to reduce file sizes or tackle complex bandwidth problems, those settings can be adjusted here. You may also adjust the frames per second and key frame interval.
Watch this video to learn more about this feature in Adobe Captivate (2019 release):

 Create studio-quality HD videos as you simultaneously record your webcam and on-screen content with just a few clicks. Adjust the talking-head video position and add persona to your training content. Easily edit the videos in Adobe Captivate and add interactivity to multi-screen video-based learning.
Steps:
In the Automatic chroma key effects page, we looked at how webcam video may be recorded, and the background removed. In this section we’ll build on that process. Once you have elected whether or not to include the webcam background removal, you are ready to begin recording both webcam and screen capture at the same time. Captivate will record everything on your computer in full motion, high definition video.
- Begin recording: Once you are satisfied, click the Record button to begin recording.
- Upon completion of the video, Captivate will display a preview of the video including both the screen you captured and the web cam video with a transparent background.

- You can publish directly to YouTube from the preview, or you can click the Edit button to make specific changes to the screen capture and web cam capture in Adobe Captivate.
- You can alter the scale of the videos, add images, text and animation and even add transitions.

- Try clicking and dragging on the webcam video to scale it larger, adjust it to fit the needs of your project.
- To publish the project, go to the Toolbar and click Publish > Publish to Computer.
- A dialog will appear on screen to help you configure the video publication.

- Most of the time you won’t need to do anything other than click the Publish You can use this dialog to name your file, and to select a destination location. You can also adjust the size of the video that you produce.
- The profile and encoding settings have been preselected to give you the best results, if you are trying to reduce file sizes or tackle complex bandwidth problems, those settings can be adjusted here. You may also adjust the frames per second and key frame interval.
Watch this video to learn more about this feature in Adobe Captivate (2019 release):
You must be logged in to post a comment.
- Most Recent
- Most Relevant


