When I had shared Quiz + Course templates a few months back, some Adobe Captivate users asked me for an Architecture-based theme. And I thought why not! 🙂 So here’s a new template which you can use right away for creating your eLearning content.
Download the Template file (.cptx) from here.
Let me take few minutes of your precious time to explain how I went about doing this.
What I needed to create?… Plan ahead!
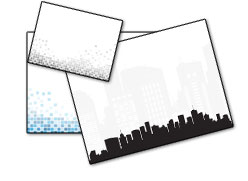
As I have discussed in similar blog posts earlier, Master Slides is an integral part of the template. So I thought I’ll start with that. I took 1024×768 as the dimension of my file in Adobe Photoshop, placed two vector graphics to create two backgrounds which I could use as background for my content slides and question slides. There are various techniques to manipulate the image to fit as background, one of the technique I use the most is to create transparent parts in the image file and allow the text to flow in those areas.
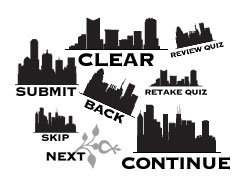
Next I had to create the buttons. This is one of my favorites… to create image buttons 🙂 I took 4-5 architectural images, created the button graphics in three different states and saved them as PNGs. It is interesting how we can create multiple button states using the layer effects… BTW, another idea can be to use scaling to show different states, button would shrink on down state and expand on over state… try it!
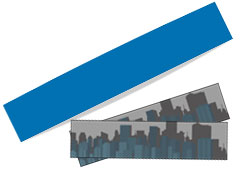
For the question slides, especially when the theme is around Architecture, I thought it would be a good idea to make a background for the question text… but how? Then I remembered a good tool in Adobe Photoshop called ‘Warp’. It gives you flexibility over the points with a tangent control. I knew what to do… created a rectangular shape, duplicated it and modified it using warp tool to create an elevated piece effect… isn’t it nice?
Last but not the least, Caption Backgrounds for Success/Failure/Hint Captions. That was not very difficult because I used an image inside a rectangular box with a slight tinge of color for the background… The most important thing to remember here is that the caption backgrounds have to be saved as BMP files. I usually get this question ‘What would happen to transparent areas of the graphic?’, don’t worry, save the transparent areas of the image as Alpha Channel and BMPs can hold alpha channel in them.
Bring it together!
I would start every project with creating Master Slides. It kind of helps me build my project in an organized manner. So, I imported the background images and named them appropriately. It is always a good idea to name the slides and objects, it always helps!
Next, I created the content slides and associated Master Slides with them. Here, I had to create object styles so that anybody who is using this template would get a consistent look and feel. I also added the image buttons I had created with Adobe Photoshop. The graphic for the question text background is imported as a separate image and kept in Master Slide for Question slides.
Question slides are a major part of this template because we have around seven question slides here. Again, Object Styles came in handy. I defined the object styles for Question Title, Question Text, Answer Text, Review Area, Captions, Buttons (Yes, even for buttons!) and Progress Text. Why for Buttons? Because, if we want to change it later, I don’t have to go on changing them in every slide… smart right? 🙂
Hope this template helps, do let us know your thoughts by leaving a comment here.
hello… I need to how to upload adobe captivate elearning project to blogger please..
I uploaded it as pdf link but it is doesnt open the prject directly.
I uploaded it as mp4 but the user cant make self assessment i have done. Please help.
thanks
Reema
You must be logged in to post a comment.


