 Newbie
1 posts
Newbie
1 posts
I’m creating a series of Quick Tips for Adobe Captivate, which will hopefully save you time whilst developing.
Tip # 1. Changing Smart Shapes Quickly.
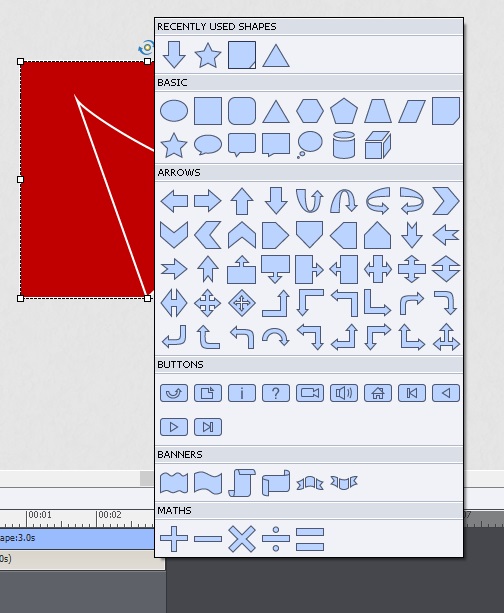
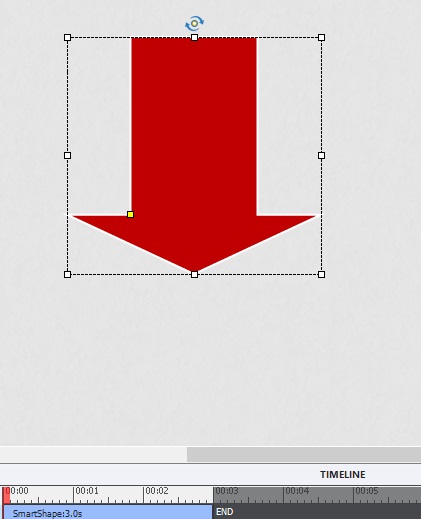
Let’s say you’ve created a smart shape from the drop down menu and later you want to change it, but don’t want to break up your slide and have to deal with re-aligning everything or even messing around with grouped objects.
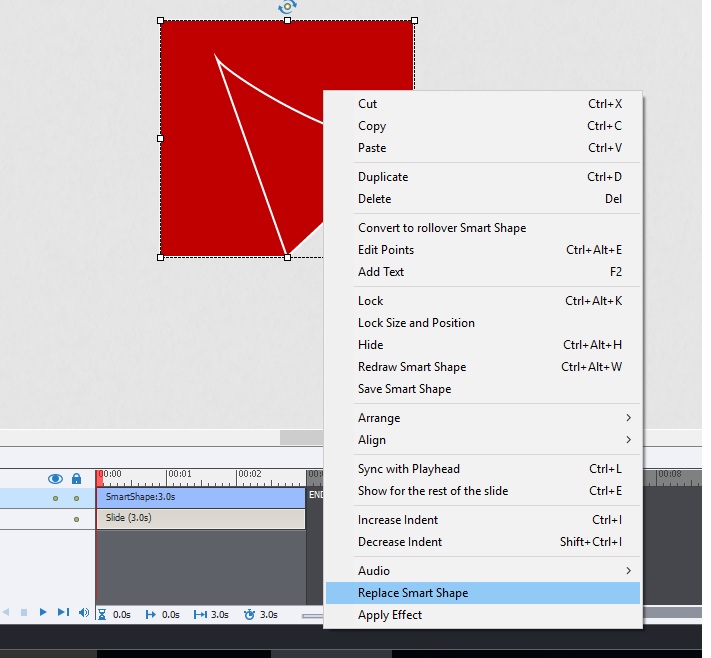
Rather than having to do the original steps, you can simply right click on the current shape and select ‘Replace Smart Shape’, which is at the bottom of the menu, just above ‘Apply Effect’.
I’m creating a series of Quick Tips for Adobe Captivate, which will hopefully save you time whilst developing.
Tip # 1. Changing Smart Shapes Quickly.
Let’s say you’ve created a smart shape from the drop down menu and later you want to change it, but don’t want to break up your slide and have to deal with re-aligning everything or even messing around with grouped objects.
Rather than having to do the original steps, you can simply right click on the current shape and select ‘Replace Smart Shape’, which is at the bottom of the menu, just above ‘Apply Effect’.


You must be logged in to post a comment.
- Most Recent
- Most Relevant
