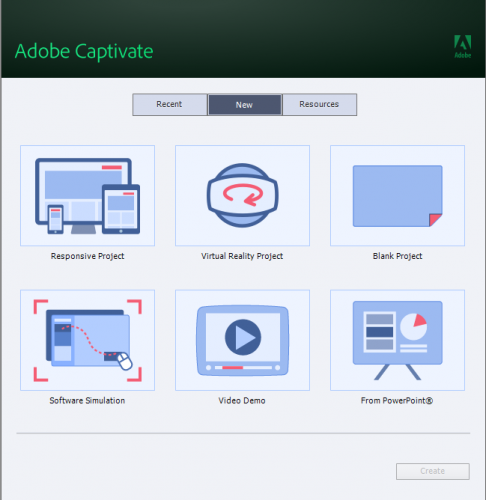
Something that has got me really excited is the new 360 features in Adobe Captivate. I am excited because it now offers me the opportunity to offer hands-on experiences for trainees using their immediate work environment. Raising five kids, coaching 2 soccer teams and being the only instructional designer/developer in our organization I don’t have much time available to play as much as I would like. Last night I sat down and put together a fun little 360 project in a couple of hours. This is just a sample where I was testing out the software and what some of the options were.
I decided to start my project as a “Blank Project” as I initially had an issue with not being able to create an introduction slide when I started the project as a Virtual Reality Project.

Starting as a “Blank Project” let me put in a front and back page to the project.
Once opened I created 3 pages, with the second page being a 360 slide.

One thing I discovered was to import a 360 image you must use the add 360 image/video button to correctly import your image.

I initially tried to drag and drop the image in and that just messed everything up on the page. I deleted the page and started again.
Once I had my image in I was able to navigate around it fairly easily with my mouse.
Now it was time to add hotspots. I tried a variety and saw there is a great deal of potential with them. Creating a hotspot was fairly easy.

Simply choose your hotspot and position it on the image.
I also chose to make this demo exploratory which gives the user the option to move around the image themselves. I believe guided takes the user through in a sequence, both of which could have worked for this project.

I did find that the angle you are looking at the image when you place the hotspot tended to influence how it showed up in the image. A 360 image is created in the shape of a sphere with your point of view in the center. If you are facing south for example then when you place your hotspot image it will tend to follow the orientation of the sphere facing south. If you put it above the horizon line in your image the hotspot will display slightly angled down towards the center. Just something to be aware of as you design.
I had a lot of fun playing with this and it is by no means polished. It was simply my raw attempt, in a short amount of time, exploring the tools and having some fun. As I find more time I will polish it up and add sound effects. I will also probably need to add a comment about how to navigate with a mouse around a 360 image as I am aware there are people who have never done that before.

One last thing I will suggest is to make sure your dimensions for any inserted media are appropriate for your project.
I have attached the project here in this post and included a link to my site that you can try out the demo for yourself.
Hi,
I played around with this new function, but failed to include images or videos in a way it looks like yours. What dimension parameters have you used for image/video?
I tried aspect ration for videos 2:1/3:1 and scaled images appropriatly.
But it always looks like in the attachment.
Any recommendation?
@dieterv45712653 I am sorry it took a long time to respond. I have been so busy that I forgot to come back and check the post. I have not played with it much since development as I will only be upgrading my version of Captivate in January. While experimenting I did have to just play around with image sizes to see which would work best but honestly did not spend as much time as I would have liked to trying to standardize anything. That might be a good idea for a post when I get time to explore it in the new year. I would welcome any information on the discoveries you have made in the preceding months.
You must be logged in to post a comment.


