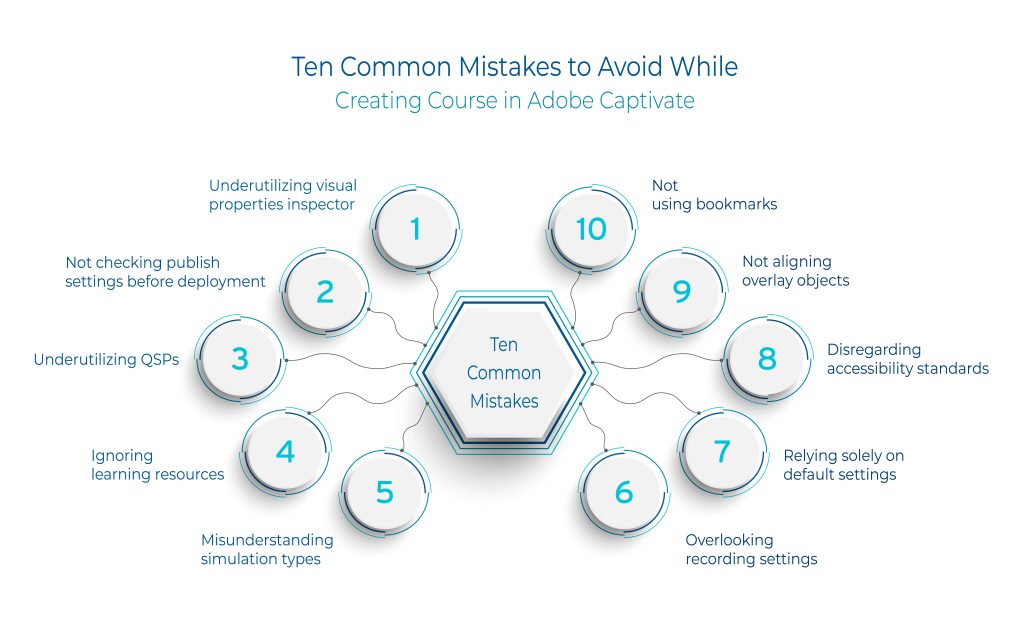
Crafting a course in Adobe Captivate requires skillful use of its features and capabilities. This blog highlights ten practices to avoid during course creation to optimize the efficacy and engagement of Adobe Captivate courses.
Let’s look a closer look at practices to steer clear of when developing a course:
- Underutilizing Visual Properties Inspector: The Visual Properties inspector in Adobe Captivate allows for precise customization of various visual elements like text, images, interactive components, widgets, and buttons. Failing to explore and leverage its functionalities can limit the creative potential of course content, resulting in less visually appealing courses.
The Visual Properties inspector can adjust:
- Alignment and spacing of the components on the slide.
- Appearance of the components regarding their background, border, shadow colors, etc.
- Look and feel using design options.
- The number of components for widgets, unselect the one that is not required per the design and course requirements.
The following image shows the Visual Properties inspector options for customizing the ‘Cards’ widget.
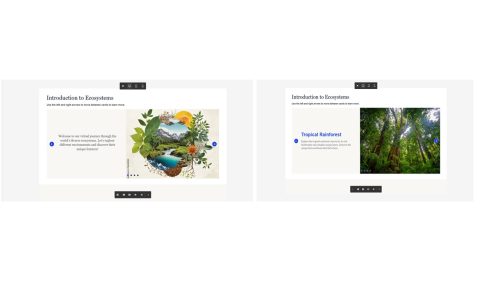
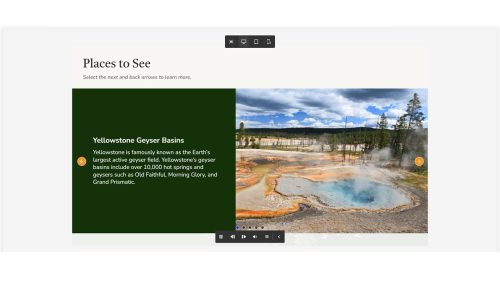
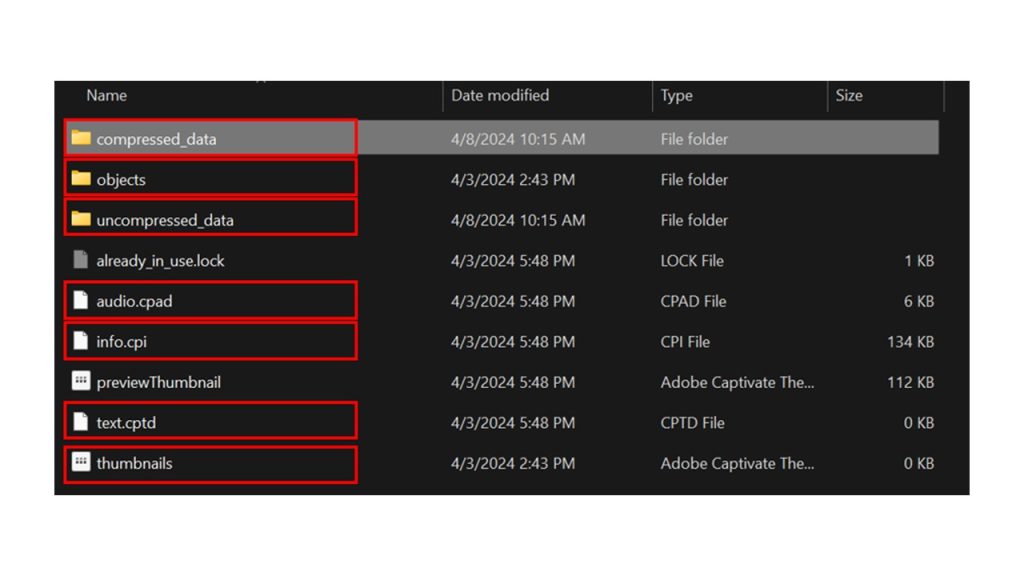
2.Not Checking Publish Settings Before Deployment: Skipping the step of checking and changing publish settings before deploying a course can lead to unforeseen issues, such as project playback and keyboard navigation problems. The project expiry date can be adjusted along with the action to be performed at the project end. This ensures a smooth user experience and prevents post-deployment troubleshooting. The publish settings can be accessed by navigating to Edit -> Preferences -> Project -> Publish.
Check the boxes under setting as per requirements. Add Project start Cover Image and Project End Action.
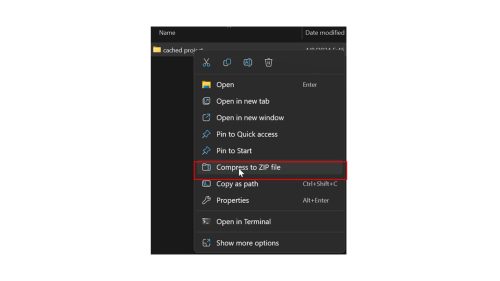
3.Underutilizing QSPs: Adobe Captivate provides a diverse range of premade Quick Start Projects (QSPs) across various domains, each offering customizable options and unique ways to present information. These QSPs offer substantial content, streamlining course creation by providing ready-made materials. Users can easily select a QSP and integrate their own content, significantly reducing the time needed to develop courses from the ground up. There are two ways to access QSPs.
First Method: By accessing Quick Start Projects on the Captivate launch screen.
Second Method: By hitting the blue plus icon at the top left corner. Under this, one can find the following ranges of Assets.
4.Ignoring Learning Resources: Failing to explore Adobe Captivate’s extensive tutorials and user guides can hinder proficiency with the software, leading to slower course development and missed opportunities for innovative feature use. Leveraging learning resources accelerates mastery of Captivate, empowering creators to produce high-quality courses efficiently.
5. Misunderstanding Simulation Types: Choosing an inappropriate software simulation type, such as demo simulation instead of assessment simulation, can lead to a mismatch between project structure and training objectives. The three types of simulation offered by Adobe Captivate are:
-
- Demo: Demonstrate a software procedure. The user is not required to perform any action.
- Training: Guide a user through a software procedure. The user must perform the steps in a procedure but with guidance at every step.
- Assessment: Test the user’s knowledge of a procedure. Only inform the user if the step was incorrectly carried out.
Understanding the distinctions between simulation types ensures that course content aligns effectively with learning goals, maximizing learner engagement and retention. Select the appropriate simulation type on the recording screen before recording the simulations.
6.Overlooking Recording Settings: Neglecting to adjust recording settings before recording audio can result in cluttered recordings with unnecessary elements, necessitating additional editing efforts. Proactively configuring recording settings produces cleaner, more focused recordings for enhanced instructional effectiveness. There are three ways to check the recording settings.
First method: Go to Edit -> Preferences -> General to check the audio input device settings and their calibration.
Second method: Check recording settings on the simulation dashboard for recording new software simulations and check for the following settings.
Third method: Check the recording settings while recording audio from the Audio Inspector panel.
7.Relying Solely on Default Settings: Using default settings without customization can produce generic courses. Default settings encompass various aspects such as project location, slide duration, audio settings, project information, quiz preferences, publishing options, SCORM configurations, pass/fail criteria, and default labels for quiz messages and buttons. Failing to customize these settings according to specific project requirements and learner needs can result in limited functionality, lack of engagement, and inadequate reporting to LMS. To customize these settings, navigate to Edit -> Preferences or hit the combination of the ctrl + ,(comma) keys together.
8.Disregarding Accessibility Standards: Failure to adhere to accessibility standards like WCAG can exclude specially abled users from accessing and benefiting from the training content. Incorporating accessibility features ensures that courses are inclusive and compliant with regulatory requirements, broadening their reach and impact among diverse learner populations. Adobe Captivate allows adding closed captions for audio-visual multimedia objects, accessibility text at slide and object levels, and reordering the screen reader order of reading the elements on the screen.
9.Not Aligning Overlay Objects: Utilizing overlay objects, such as pop-up messages or tooltips, without proper alignment or context can confuse learners and disrupt instruction flow. Clear and relevant alignment of overlay objects enhances user understanding and engagement, facilitating effective knowledge transfer and retention. One can achieve proper alignment of the overlays using slide-level and object-level interactions from the Interactions Inspector.

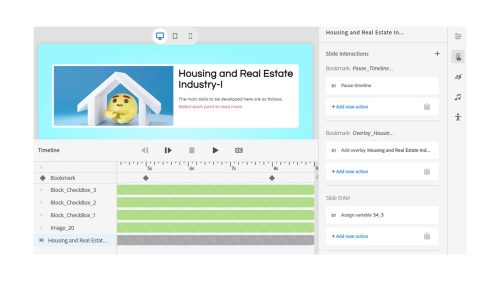
10.Not Using Bookmarks: Neglecting to utilize bookmarks to organize and navigate course content can hinder learner progress and comprehension, particularly in longer or more complex courses. Incorporating bookmarks enables learners to navigate and engage with course materials effectively. In Adobe Captivate, bookmarks serve as markers for revisiting specific points in a course, aiding in module organization and seamless navigation. They enable learners to quickly access key moments in videos, enhancing interactive learning experiences. Adding a bookmark is quite simple. Just open up the timeline and seek the timestamp where you want to add a bookmark; right-click on the timestamp. To add any interaction on the added bookmark, use Interactions Inspector. The following image shows two bookmarks at 5 seconds and at 8 seconds timestamp.
Conclusion
Avoiding these practices during Adobe Captivate course creation is essential for delivering effective and engaging training experiences. By leveraging the software’s full capabilities, adhering to accessibility standards, and embracing best practices, creators can ensure their courses are polished, impactful, and accessible to all learners.
You must be logged in to post a comment.


