Exporting and importing the eLearning content for localization which has been made easy with Adobe Captivate 2017 authoring tool.
Here is the step by step process to exporting a project into Microsoft Word document for translating.

Exporting and importing the eLearning content for localization which has been made easy with Adobe Captivate 2017 authoring tool.
We would like to share the brief procedure in detail along with reference images.
Here is the step by step process to exporting a project into Microsoft Word document for translating.
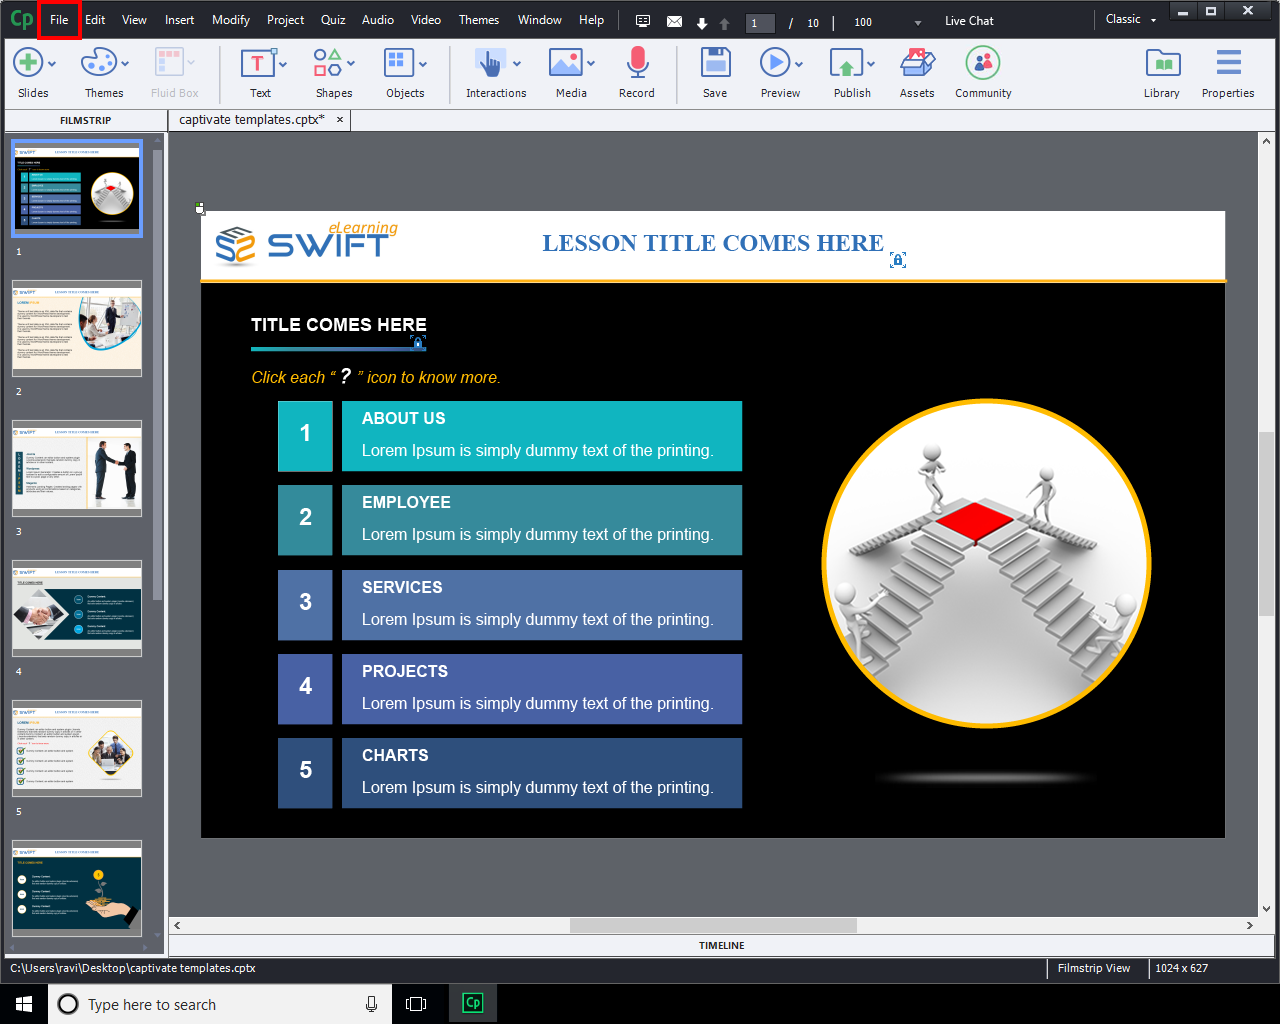
Open an Adobe Captivate project, which you like to export for translation content document.
Step 01:
Now you are ready to export your project for a translated document.
Select the File menu in the top left corner.

Step 02:
And then select Export in the dropdown list.

Step 03:
In dropdown list selects Project Captions and Closed Captions option.

Step 04:
Choose a location to save your preferences file and name file e.g. “Captivate template captions” or with a different name as you are preferred and click Save.

Step 05:
Now you have successfully completed the exporting project into a Microsoft Word (.doc) document which contains source language.
Note: Always make a copy of the exported Microsoft word document before translating.

Step 06:
We can open the exported document in Microsoft word. The document consists of 5 columns, in that 2 important columns are Original Text Caption Data (contains source language e.g. English at present) and Updated Text Caption Data (we can enter preferred language).
Note: Do not make any changes in Slide ID, Item ID, and Slide values in the word document file when localization.
These IDs are necessary to import the document back into Adobe Captivate.

How to Importing a translated document step by step procedure?
For complete post please visit the link: http://www.swiftelearningservices.com/adobe-captivate-translation-feature-for-developing-multilingual-courses/
This is only one part of the whole localisation workflow. Having had to localise quite a number of courses, I start by importing localised Preferences (Recording defaults and Quiz, Default labels are part of them). For quizzes I use the GIFT import functionality as well for localising as explained in https://elearning.adobe.com/2018/06/gift-and-localisation/
The import/export to Word has a lot of problems for many users as you can see from the bunch of questions on all user forums and discussion groups. Part of them can be due to incompatibility of versions, but personally I often have problems as well, for a not apparent reason. One tip: never rename the cptx nor the word document in the process.
Another tip: for the same text the space needed in text containers can differ a lot depending on the language. For that reason I would recommend to turn on the option ‘Auto resize text captions’ before importing, if you talk about a non-reponsive project.
You must be logged in to post a comment.


