


Adobe Captivate’s new release enables the creation of custom interactive tables, like the Image Grid and Button Tables, which enhance eLearning content with dynamic, clickable elements. These tables provide learners with structured, visually engaging, and non-linear navigation options, supporting interactive and self-paced learning experiences.
Introduction
Adobe Captivate’s latest release provides enhanced tools for building custom eLearning content, including a powerful feature. These features can be used to design interactive tables. These tables can be customized to display images, buttons, and other dynamic elements, creating an engaging user experience. Here, we’ll walk through creating two types of interactive tables in Adobe Captivate. These formats are ideal for adding visual appeal and functionality to your training modules.
Why Use Interactive Tables?
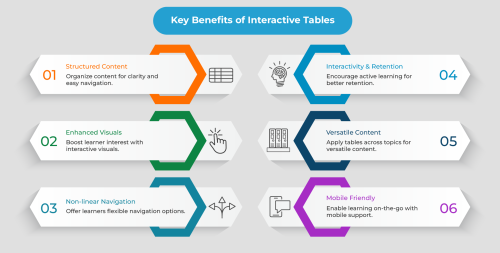
Interactive tables in Adobe Captivate help display content in a structured and visually engaging format. They allow learners to interact with the content in a non-linear way, providing a hands-on experience. Features like Image Grid and Button are particularly useful for creating engaging interactive tables.
Creating an Interactive Table Using Image Grid
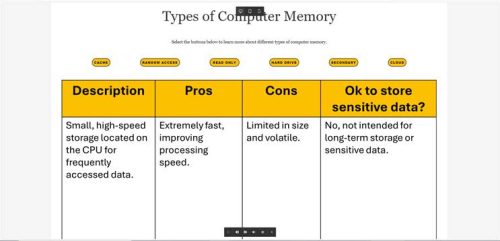
This interactive table is essentially a grid of images that learners can click on to view more information or navigate to different sections. This type of table is ideal for visual learning and is commonly used in product catalogs, employee directories, or any visual-based content.
Step-by-Step Guide to Building an Interactive Table Using Image Grid
1.Open Adobe Captivate and Start a New Project
-
- Start with a new slide or choose an existing slide where you want to place the interactive table.
2.Insert the Image Grid Widget
-
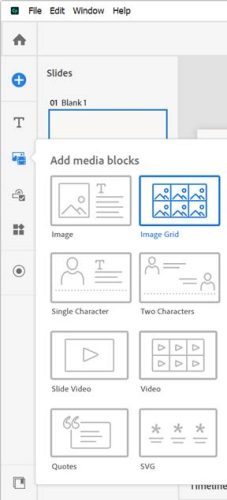
- In the toolbar, navigate to the asset panel and select the Image Grid from the list of media blocks. You’ll see placeholders where you can insert your images.
3.Add Images to the Grid
-
- Click on each placeholder to add images. Adobe Captivate allows you to adjust the dimensions of each grid cell to fit your images.
- Ensure each image is optimized for web display, as high-resolution images can slow down the loading time.

4.Customize Grid Settings
-
- You can adjust the number of rows and columns, the spacing between images, and the alignment. This customization allows you to align the grid with your content’s layout and design.
5.Set Actions for Each Image
-
- Adobe Captivate enables you to add actions to each image. For example, you can add a click-to-reveal action that displays additional information when an image is clicked or link it to another slide or an external URL.
- To add actions, select an image, then go to the interactions, and choose an action (like “Go to next slide” or “Set state“) under the interactions tab.
- Preview and Test
- Preview the slide to ensure the grid functions as expected. Make sure each image is clickable and that any linked actions work properly.

Creating an Interactive Table Using Button
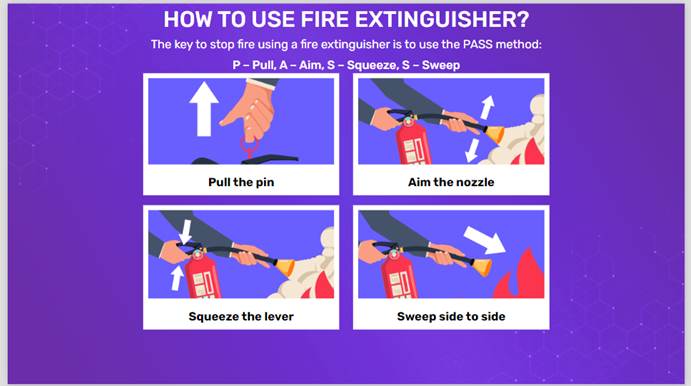
A table with interactive buttons triggers various actions. This is particularly useful for providing learners with navigational options or interactive assessments within the course.
Step-by-Step Guide to Building an Interactive Table Using Button
1.Start with a New Slide or Select a Slide
- Start by creating or choosing the slide where the interactive table will be placed.

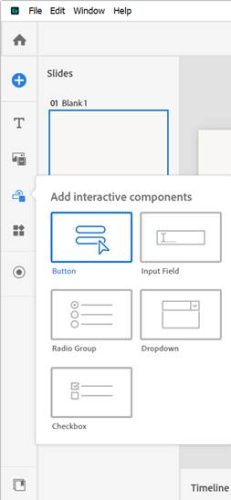
2.Create the Table Layout Using Buttons
- From the asset panel’s interactive components, choose Button and place the buttons on your slide. You can arrange buttons in rows to create a structured table appearance.
- Adjust the size of each button to fit your desired layout.
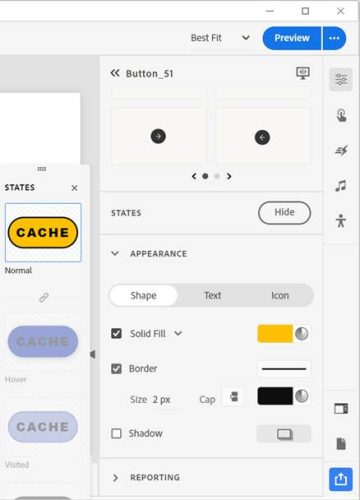
 3. Customize Button Text and Styling
 - Click on each button to customize its text. For example, you can label each button with the names of sections, categories, or other actions.
- Use the Visual Properties Inspector to change button colors, fonts, and sizes. Consistent styling will make the table look cohesive.

 3. Customize Button Text and Styling
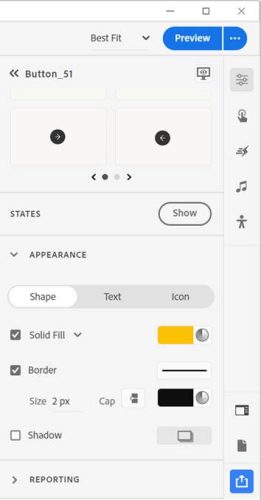
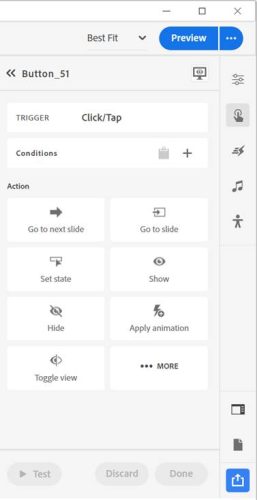
4. Assign Actions to Each Button
- Select a button, then go to the action tab in the interactions.
- Choose an action for each button, such as Go to next slide, Open URL or file, Play Media, etc.
5.Add Visual Feedback for Button Clicks
- Adobe Captivate offers states and animations, such as hover effects, which you can use to make each button respond visually when clicked. This helps learners understand which button they have selected and improves interactivity.
6.Preview and Adjust
-
- Test the interactive table with button by previewing the slide. Ensure that all buttons work as intended and that their actions are correctly set up.
Best Practices for Creating Interactive Tables
- Consistency in Design: Use uniform colors, fonts, and sizing across all table elements to maintain visual consistency.
- Use Clear Labels: Make sure each button or image is labelled in a way that is intuitive for learners, helping them navigate easily.
- Test Across Devices: Interactive tables should be tested on various devices, as Captivate supports responsive design, and elements might appear differently on mobile versus desktop views.
- Keep Accessibility in Mind: Adobe Captivate supports accessibility features like keyboard navigation and screen reader compatibility. Ensure that each interactive element is accessible to all users.
Conclusion
Creating custom interactive tables in Adobe Captivate is a fantastic way to engage learners by adding interactive visual elements. Both the table with Image Grid and Button can add significant value to your eLearning projects, providing easy navigation, visual appeal, and interactive learning opportunities. We have demonstrated the table by using Image Grid and Button, you can explore more options to do the same. Remember to preview and test these tables to ensure smooth functionality across devices and platforms. With these tools, you’re well-equipped to elevate the user experience in your Adobe Captivate projects.


.png)

.png)
.png)

You must be logged in to post a comment.


